
The complete guide
H1 Halogen Headlight Bulbs, A Straightforward Buyer's Guide
The problem with a blown headlight
A headlight bulb never fails at a sensible hour. It goes on a wet Tuesday night, halfway home, and the first you know about it is an odd shadow on the road or a flash from an oncoming driver. Suddenly you are driving a car that is harder to see with and easier to get pulled over in.
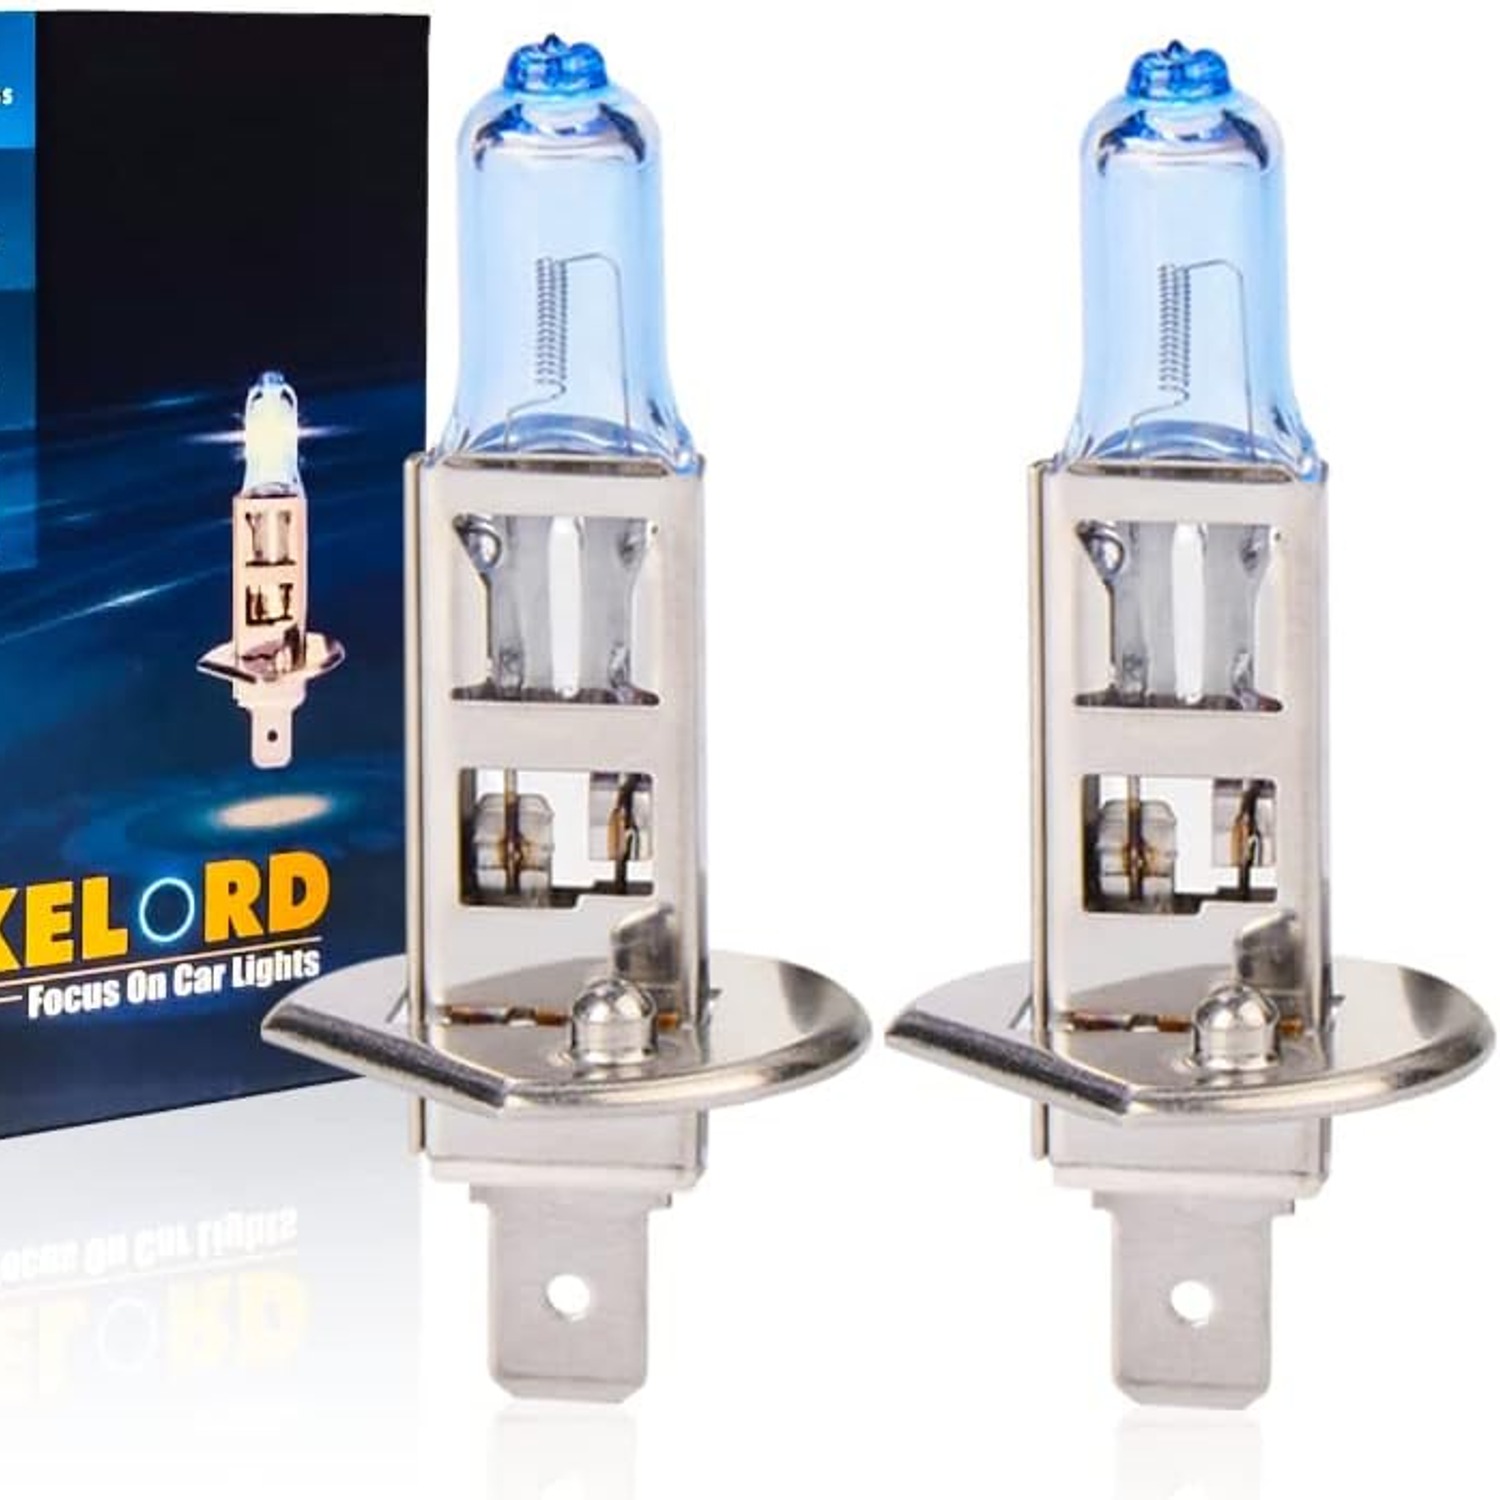
The repair itself is usually minor. The annoyance is everything around it: finding out which bulb you need, discovering the shop shut twenty minutes ago, and then realising the other side is probably due too. That is the gap this pack fills. Two H1 halogen headlight bulbs, 12 volt and 55 watt, ready to drop into an H1 fitting.
What H1 actually means
H1 is a fitting code. It describes the shape of the bulb's base, the way it locks into the holder, and where the filament sits inside the glass. It does not describe brightness, and it is not a quality grade.
An H1 bulb has a single filament and a flat metal tab at the base. That single filament matters. It means the bulb does one job in whichever lamp it is fitted to, rather than switching between dipped and main beam the way a twin-filament bulb does. Some cars put H1 in the main beam, some in the dipped beam, and some use it in fog lamps.
What H1 definitely is not is interchangeable. H4, H7, H11 and the rest are separate fittings with different bases. A couple of them look vaguely similar in a dim engine bay, which catches people out. If the code on your old bulb says anything other than H1, this pack is not the one you want.
How to check before you order
Two reliable ways to confirm the fitting, and they take about the same amount of time.
The first is the owner manual.
The second is better, because it tells you what is actually in the car rather than what should be. Open the bonnet, reach behind the headlight unit, and pull the existing bulb. The code is printed or stamped on the metal base, usually with the voltage and wattage next to it. If it reads H1 12V 55W, you have a direct match with this pack.
Be a little careful if a previous owner has been at the lighting. Aftermarket conversions and odd holder adapters do turn up, and the safest thing is to trust the bulb in your hand.
The specification in plain terms
Each bulb in the pack runs at 12 volts and 55 watts. Those are the ordinary numbers for a halogen headlight on a 12 volt car electrical system. If your vehicle runs 24 volts, as some commercial vehicles do, these are not suitable.
The quoted colour temperature is 3500 Kelvin. Kelvin measures the tone of the light rather than how much of it there is. At 3500K you get a warm white, which is the look most people associate with factory halogen headlights. Set against cooler white lighting it reads slightly yellow. Plenty of drivers prefer exactly that, finding warm light easier on the eyes in heavy rain or fog.
We do not publish brightness comparisons or lifespan figures for this bulb. If your current bulbs share the same 12V, 55W, H1 specification, a like-for-like swap is what you are getting.
Fitting them without the usual mistakes
Start with the lights off and the key out. If the headlights have been on, give the bulb several minutes to cool. Halogen bulbs get properly hot, and the metal around them does too.
Access is the real variable. Some cars give you a generous gap behind the lamp with a rubber cover you twist off, and the whole job takes four minutes. Others want the air intake, battery cover or washer bottle shifted first. A few need the bumper off, at which point a garage with a ramp is the faster answer and there is nothing wrong with that.
The one rule everybody repeats, because it is the one that gets ignored: do not touch the glass with bare fingers. Skin leaves a thin film of oil on the quartz. Once the bulb warms up, that patch runs hotter than the glass around it. Hold the new bulb by the metal base, or leave it sitting in its plastic tray while you line it up. If you do slip and touch it, wipe the glass with a clean dry lint-free cloth before you switch on.
When the bulb is in, make sure it is seated flat and the retaining clip is fully closed. A bulb that is slightly proud of its seat throws the beam off and rattles loose over time. Switch the lights on and check both sides before you close the bonnet.
Why pairs make sense
Headlight bulbs age together. Both sides have been switched on and off the same number of times and have taken the same vibration from the same potholes. When one fails, the other is usually close behind.
There is also the look of it. A fresh bulb beside one that has dimmed over a few years gives you a noticeably uneven spread of light, which is distracting at night and obvious to anyone behind you. Changing both at once keeps things matched and saves repeating the job in a month.
If you only need one bulb today, keep the second in its box. A boxed spare in the boot is one of the more useful things you can carry, and plenty of buyers treat a two pack as the best spare headlight bulb kit precisely because it turns a roadside problem into a short task rather than a recovery call.
Keeping them working
There is not much maintenance involved with a headlight bulb, but a few habits help.
Keep spares in their original packaging until the moment of fitting. The box protects the glass and keeps fingerprints off it. Store them somewhere that is not rattling around loose with spanners.
Clean headlight lenses matter more than most people think. A clouded or yellowed plastic lens scatters light before it reaches the road, and no bulb can fix that. A lens restoration kit, or just a proper wash, often makes a bigger difference than people expect.
Finally, if a bulb fails very early, look at the car rather than the bulb. Repeated early failures can point to vibration, moisture inside the headlight unit, or a charging system pushing a higher voltage than it should.
On approvals and markings
We do not claim any approval marking for this bulb. If you need a bulb that carries a specific marking for an inspection or for local rules, the sensible step is to look at the markings printed on the bulb you are removing and then contact us before ordering. We will tell you what the current stock carries. It is a short conversation and much better than a return.
The short version
This is a pair of H1 halogen headlight bulbs rated at 12 volts and 55 watts, with a warm white 3500K light colour. They replace an H1 bulb and nothing else, so confirm the fitting in your manual or on the old bulb first.
Change both sides together, handle the glass by the base only, and let the old bulb cool before you touch it. Do that, and the whole job is a short one. Keep the spare in the boot for the next dark evening.