
The complete guide
The Plain English Guide To Buying H11 Halogen Headlight Bulbs
The problem with headlight bulbs
Headlight bulbs rarely give you a warning. They fade so gradually that your eyes keep pace with them, and the first real sign of trouble is often a passenger saying the road looks dim, or one side simply going dark on a wet night miles from home.
That slow fade is why so many drivers are running on bulbs well past their best without realising it. A fresh halogen bulb pushes a clean, even pool of light down the road. An old one does the same job with the edges worn off, and on an unlit road the difference matters.
A pack of two H11 halogen headlight bulbs solves this in the simplest way possible. You take out the tired bulbs, put in new ones, and the view through the windscreen goes back to what it should be.
What you are actually buying
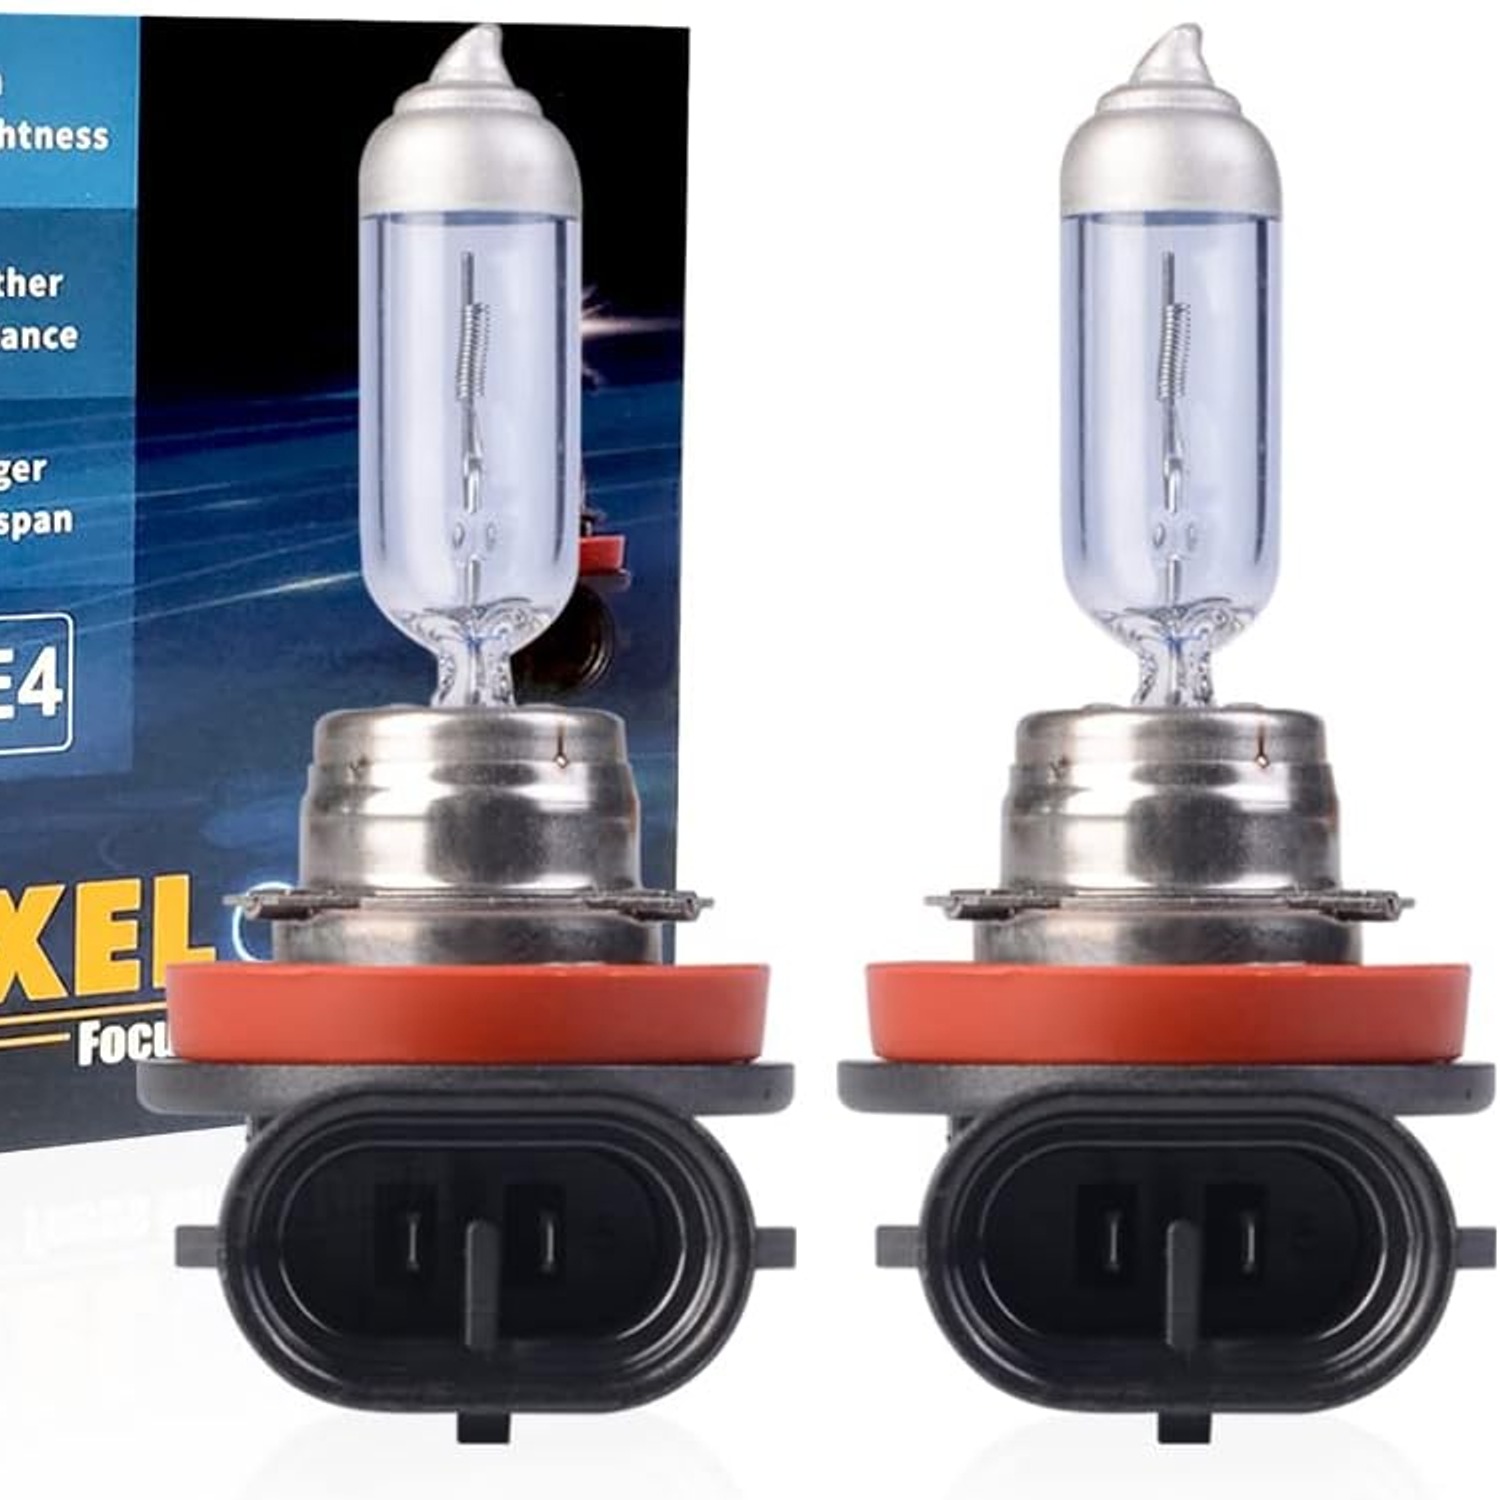
This is a pair of halogen bulbs with the H11 fitting. Each one runs at 12 volts and 55 watts, which is the standard rating for an H11 halogen bulb, and each produces light at 3500 Kelvin.
That Kelvin number describes colour, not brightness. At 3500K the light is a warm white, the tone most people picture when they think of ordinary car headlights. It is not the bluish-white look that some drivers go hunting for. Plenty of drivers prefer the warmer tone, particularly in rain and fog, where a cooler light can bounce back off the water in the air and feel harder to see through.
They are sold two to a pack for a practical reason, which we will come back to.
The fitting is the whole decision
Here is the part that catches people out. Headlight bulbs are not a one-size item. The fitting code tells you the shape of the base, where the locking tabs sit, and how the filament is positioned inside the reflector. Get it wrong and the bulb either will not go in, or it goes in and throws light in the wrong direction.
These bulbs replace an H11 bulb. That is it. They are not a universal bulb and they do not cover other codes.
There are two reliable ways to check what your car needs. The second, and the one we would trust most, is to open the bonnet, pull the old bulb out, and read the marking moulded into its plastic base. If it says H11, you are in the right place. If it says anything else, stop there and find the matching code instead.
It is worth noting that many cars use one bulb type for the dipped beam and a different one for the fog lamp. Do not assume that because one lamp takes H11, the others do too. Check each lamp you plan to change.
Why buy a pair
It feels wasteful to replace a bulb that is still working. It usually is not.
Both headlights on a car have been switched on and off together since the day it left the factory. They have done the same hours, the same vibration, the same temperature cycles. When one gives up, the other has very little left in it. Changing just the dead one often means doing the same job again a few weeks later, and on some cars that job involves moving trim and lying on cold ground.
There is also a visual reason. A new bulb next to a bulb that has been in service for years will usually look brighter and slightly different in tone. The beam pattern ends up lopsided, which is distracting at night and noticeable to other drivers. Fitting a matched pair keeps both sides looking the same, which is really what the best h11 headlight bulb setup comes down to.
If you only need one right now, keep the second in the box as a spare. A spare in the boot is a genuinely useful thing to have.
Fitting them without drama
Access is the variable here. Some cars give you a big open space behind the headlight and the whole job takes five minutes. Others want the wheel removed, or the arch liner folded back, or the battery tray shifted. It is worth having a quick look before you start so you know what you are in for.
The method itself is the same everywhere. Switch the lights off and leave the car alone for a while, because halogen bulbs get seriously hot and the housing holds that heat. Pull the rubber cover or dust cap off the back of the headlight. Unclip the connector from the bulb. Release the retaining clip or twist the collar, depending on the design, and draw the old bulb straight out.
Before you pick up the new bulb, look at your hands. Oil from your skin will sit on the quartz glass and create a hot spot when the bulb lights up, which is bad news for the bulb. Hold it by the plastic base or the metal collar only. If you forget and grab the glass, it is not a disaster, just wipe it clean with a lint-free cloth and a little methylated spirit, let it dry, and carry on.
Seat the new bulb so the tabs line up and it sits flat against its stop. A bulb that is not fully home will throw the beam at the wrong angle. Lock the clip, push the connector back on until it clicks, refit the dust cover, and test it before you put anything else back together.
Looking after them
There is not much maintenance to a headlight bulb, but a few habits help. Keep the dust cover properly seated, because moisture inside a headlight housing is hard on bulbs and connectors alike. If you notice condensation building up behind the lens, that is worth investigating separately.
Keep spare bulbs in their packaging and stored upright somewhere dry. Loose bulbs rattling around in a toolbox pick up fingerprints and knocks, and a hairline crack in the glass is not always easy to spot.
If a new bulb flickers, suspect the connection first. Corroded terminals and tired earth points cause more flicker than bulbs do. Clean the contacts and make sure the plug clicks home properly.
A note on claims
We list what we know about these bulbs and nothing more. The fitting is H11, the rating is 12 volts and 55 watts, the light colour is 3500 Kelvin, and there are two in the pack.
If you specifically need a bulb carrying a particular approval mark, the sensible move is to read what is printed on the bulb you are taking out and ask us before you order. We would rather have that conversation first than send you something that does not meet the requirement you have.
The short version
If your car takes an H11 bulb and the headlights have gone dull, this pack gives you two new halogen bulbs at the standard 12V and 55W rating, with a warm white 3500K light.
Check the fitting on your old bulb or in the manual before ordering. Change both sides together so the beams match. Hold the new bulbs by the base, keep your fingers off the glass, and let hot bulbs cool before you touch them.
Do that, and you will have an even, familiar spread of light the next time you are out on a dark road.