
The complete guide
Choosing H4 Halogen Headlight Bulbs, A Practical Buyer's Guide
The problem you are actually solving
You noticed it at a junction, or someone flashed you, or you walked around the car one dark morning and saw a dead eye staring back. One headlight is out. It is a small failure with an outsized effect, because driving with one working headlight makes you harder to see, harder to judge in width, and harder to explain to anyone who stops you.
The fix is usually cheap and quick. The part that trips people up is not the fitting, it is working out which bulb you need and not buying the wrong one twice. That is what this guide is for.
What an H4 bulb is
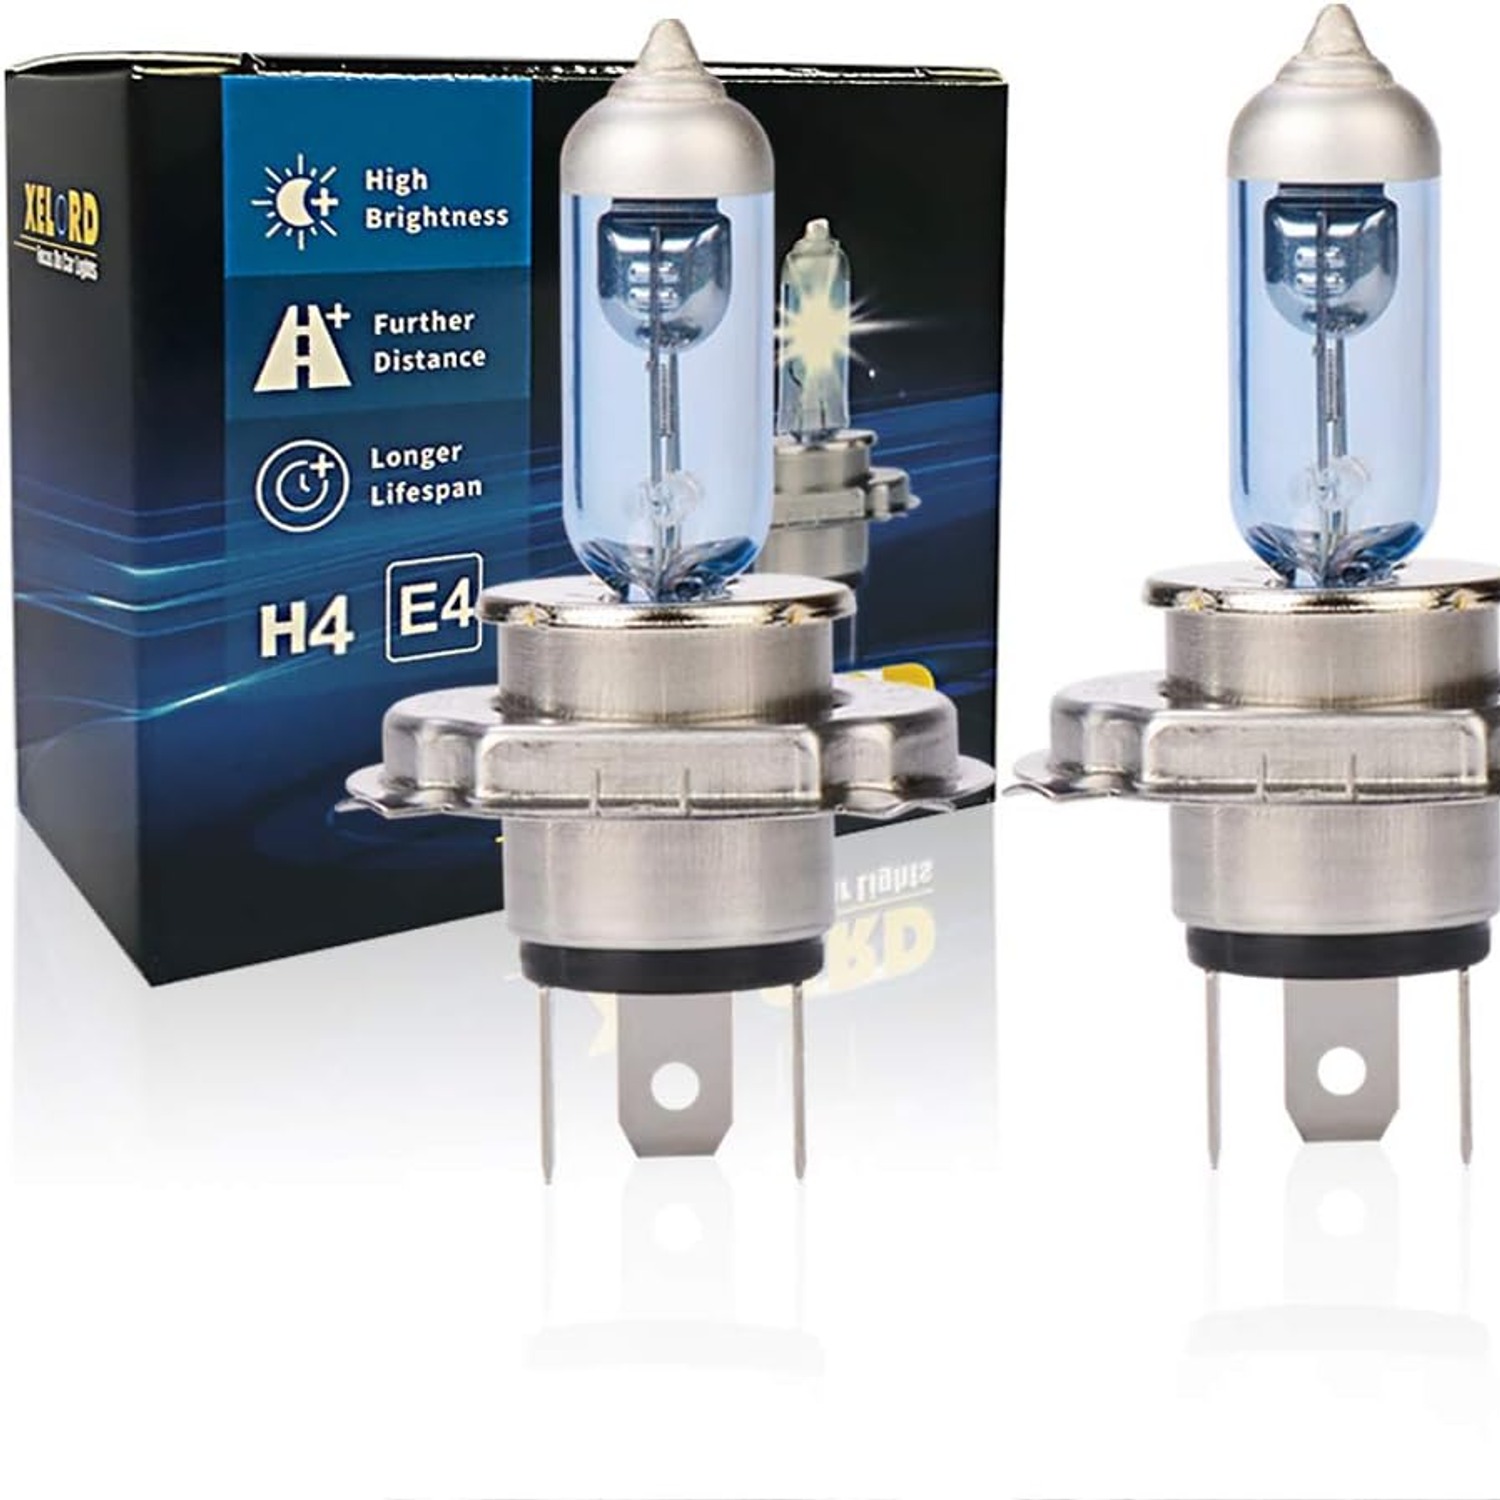
H4 is a fitting type. It describes the shape of the bulb base, the three-tab flange that locks it into the headlight, and the three-pin connector that feeds it power. You will see the same fitting written as 9003 or HB2 in some manuals and catalogues. Those are different names for the same physical shape.
What makes H4 different from most other headlight bulbs is that it does two jobs. Inside one glass envelope there are two filaments. One lights for dipped beam, the one you use most of the time. The other lights for main beam, the one you flick on when the road ahead is clear. This is why a single H4 bulb per side can cover both functions, and why the power rating has two numbers, 60/55 watts, one for each filament.
These bulbs are rated at 12 volts, which covers most cars and a lot of motorcycles. If your vehicle runs a 24 volt system, as some larger trucks do, these are not the right bulbs.
Reading the colour number
The colour temperature here is 3500 Kelvin. Lower numbers look warmer and more yellow, higher numbers look cooler and more blue. At 3500K you get the warm white light that standard halogen headlights have produced for decades.
Some buyers go looking for a higher Kelvin number because the light looks whiter and more modern in photographs. If your current bulbs are standard and you liked how they looked, 3500K will feel familiar. If your current bulbs are blue-tinted, expect a visible change in colour.
How to be certain about the fitting
This is the only step that really matters before you buy, and it takes two minutes.
The first place to look is the owner manual. Find the headlight row and read the code.
If you do not have the manual, go straight to the source. Open the bonnet, find the back of the headlight unit, unclip the connector, release the retaining clip or ring, and take the old bulb out. There will be a code stamped on the metal or plastic base. If it reads H4, 9003 or HB2, this pair is the right fitting. If it reads H7, H1, H11 or anything else, you need a different bulb and this one will not seat.
We list fitment by fitting type only. We do not publish vehicle model lists, so we cannot tell you that a bulb fits a particular car. The code on your old bulb can.
Why buy a pair
It is tempting to buy one bulb and save a little. Here is the argument against it.
Both your headlight bulbs were almost certainly fitted on the same day and have burned for the same number of hours since. When one goes, the other is often not far behind, and you end up doing the same job twice within a few months. There is also a visual point. A fresh bulb next to a tired one can look uneven across the road ahead, and some drivers find that distracting at night.
Buying two means both sides are matched. If you only want to change one for now, fit one and keep the second in the boot. A spare headlight bulb kit sitting in a glovebox has saved plenty of people a long detour.
Fitting without ruining the bulb
Two habits will get you most of the way.
The first is never touching the glass with bare fingers. Skin leaves behind a thin film of oil. When a halogen bulb reaches working temperature, that film bakes onto the quartz glass and creates a hot spot, which can shorten the bulb's life noticeably. Hold the bulb by the metal base or the plastic collar. Clean gloves or a clean dry cloth work well. If you do touch the glass by accident, wipe it with a little rubbing alcohol and let it dry fully before fitting.
The second is patience with heat. Headlight bulbs get very hot in use. Switch the lights off and give them time to cool before you reach in. The same applies after a test run, when it is tempting to go straight back in to check your work.
Beyond that, most jobs follow the same pattern. Unclip the connector, release the clip or twist the retaining ring, pull the old bulb straight out, slot the new one in so the tabs line up, lock it, and push the connector back until it is fully home.
Access varies. Some vehicles leave room to work by hand from behind the lamp, others need the battery box or an air intake moved first, and a few need the wheel arch liner pulled back. If the space is too tight to work in safely, a garage will do it in minutes.
Checking your work
Once both bulbs are in, switch on dipped beam and walk around the front. Then switch to main beam and check both sides light. Finally, park facing a flat wall or garage door a few metres back and look at the beam pattern. It should look roughly symmetrical, with a clear cut-off line. Changing a bulb does not normally alter the aim, since the bulb seats in a fixed position, but if the pattern looks high, low or lopsided, have the aim checked.
Approvals and markings
We do not claim an approval mark for this bulb. If you need a bulb carrying a specific marking, the simplest route is to look at the marking printed on your current bulb and then contact us before ordering so we can tell you what information we hold about the stock. Rules differ from place to place, and we would rather you ask than guess.
Looking after spares
Keep the second bulb boxed. The packaging protects the glass, keeps fingerprints off it, and stops the filament taking knocks. Somewhere dry is best, a glovebox or a boot tray rather than loose in a toolbox where it will rattle against spanners.
The short version
Confirm your fitting is H4 (or 9003, or HB2) by checking the manual or reading the code on your old bulb. Confirm your vehicle runs 12 volts. Expect a warm white halogen colour at 3500 Kelvin, with 60/55 watts covering dipped and main beam. Fit both bulbs at once if you can, keep your fingers off the glass, and let hot bulbs cool before you handle them. Do that and a dead headlight becomes a ten minute job rather than a garage trip.